Connect and Claim the Gateway
WG1000 Gateway
- UI versions > 0.10.0
- Older UI versions
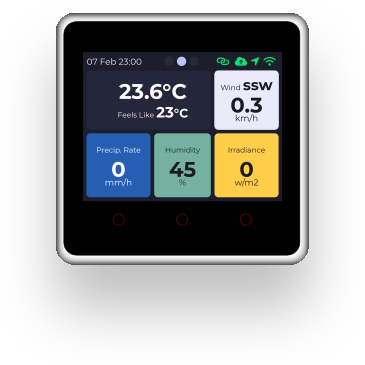
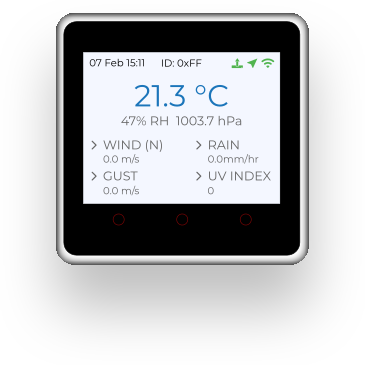
The weather station comes together with the WG1000 Gateway. The WG1000 Gateway receives all the meteorological data, which are measured and transmitted every 16 seconds by the outdoor sensor and displays them on its screen.
In this chapter, you will find guidance to set up the WG1000 Gateway.
Prerequisites
- The station must be fully assembled (parts and batteries).
- A working smartphone with connection to the internet.
- The WeatherXM Application installed on your smartphone.
- A reliable 2.4 GHz WiFi network (5 GHz is not supported) for the WG1000 Gateway to connect to.
Step by Step Instructions
Connect GPS antenna
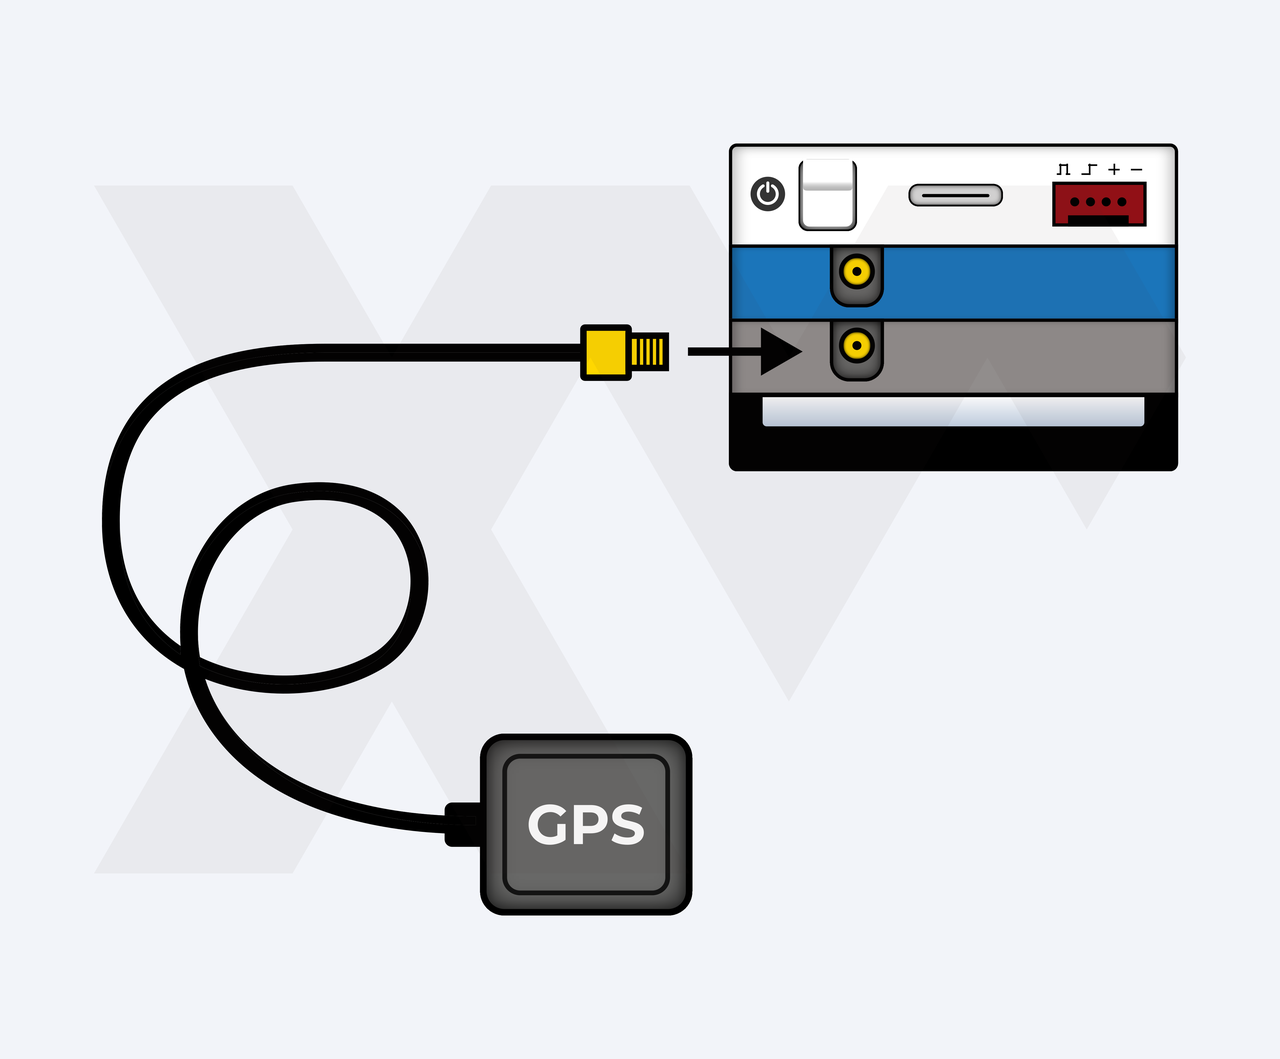
Attach the GPS antenna to WG1000 Gateway. You should hear a "click" when it's properly installed.
Connect M5 Gateway to power source and turn device on
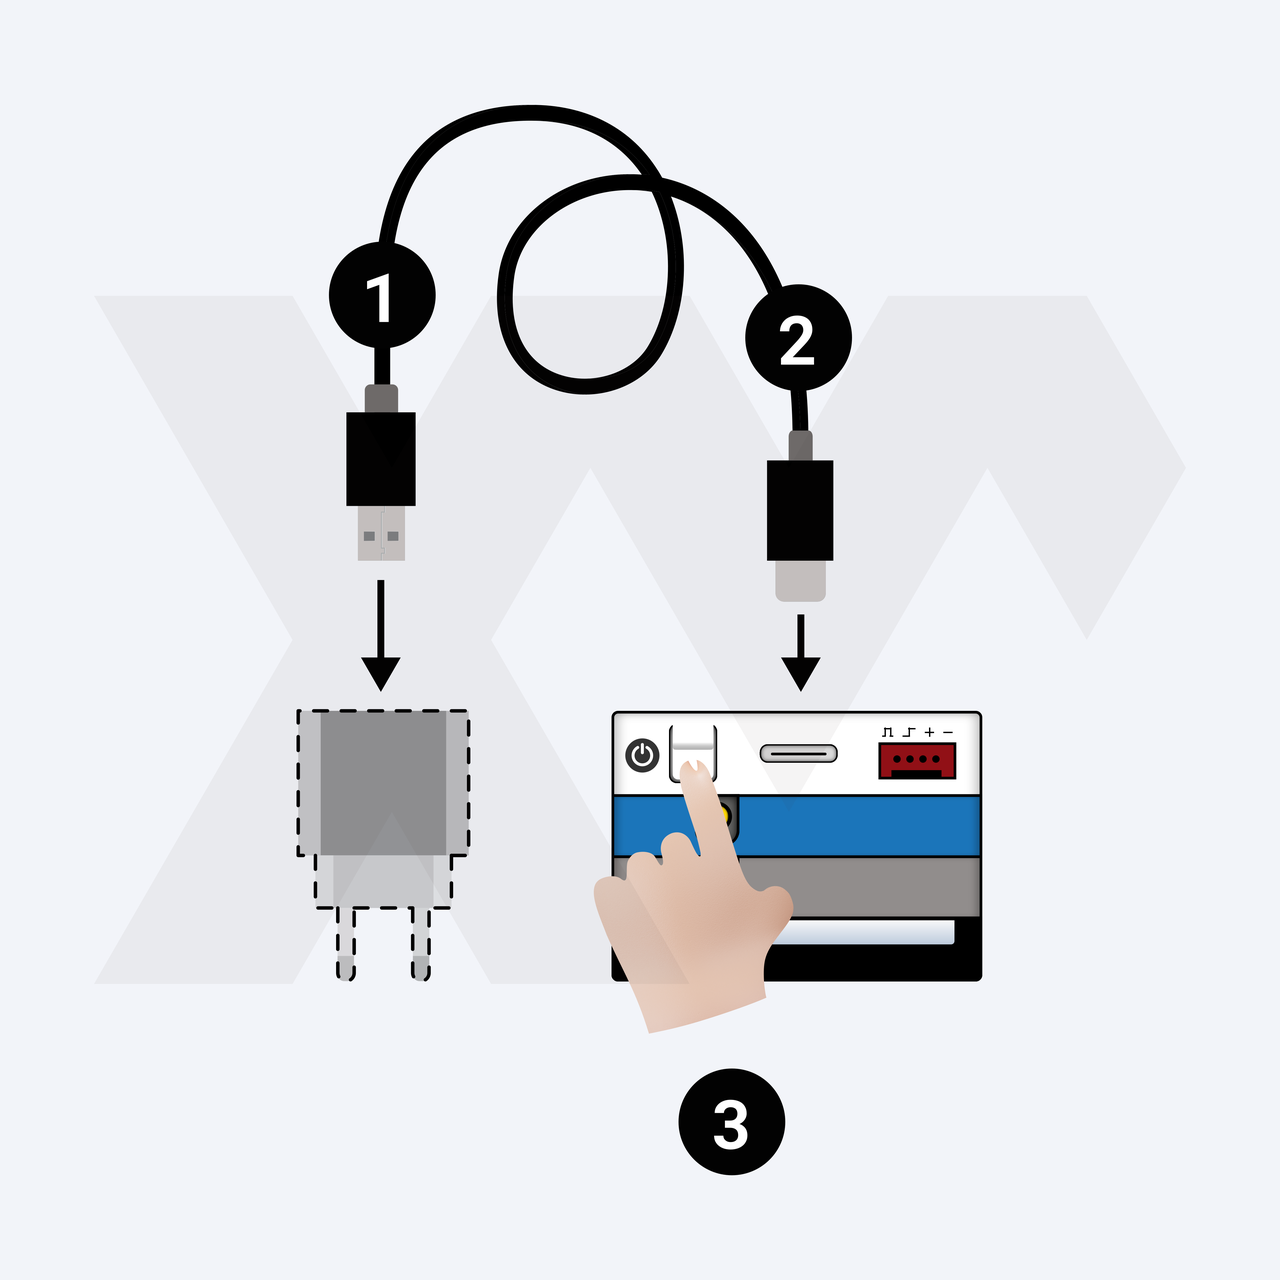
The WG1000 Gateway must be connected to a power source at all times. It has a limited battery, but you should not rely on it.
If WG1000 Gateway turns off, you will not receive $WXM rewards, as you will not be able to share data with the WeatherXM network. This will result in no WXM rewards!
Place WG1000 Gateway near a window (for better GPS signal)
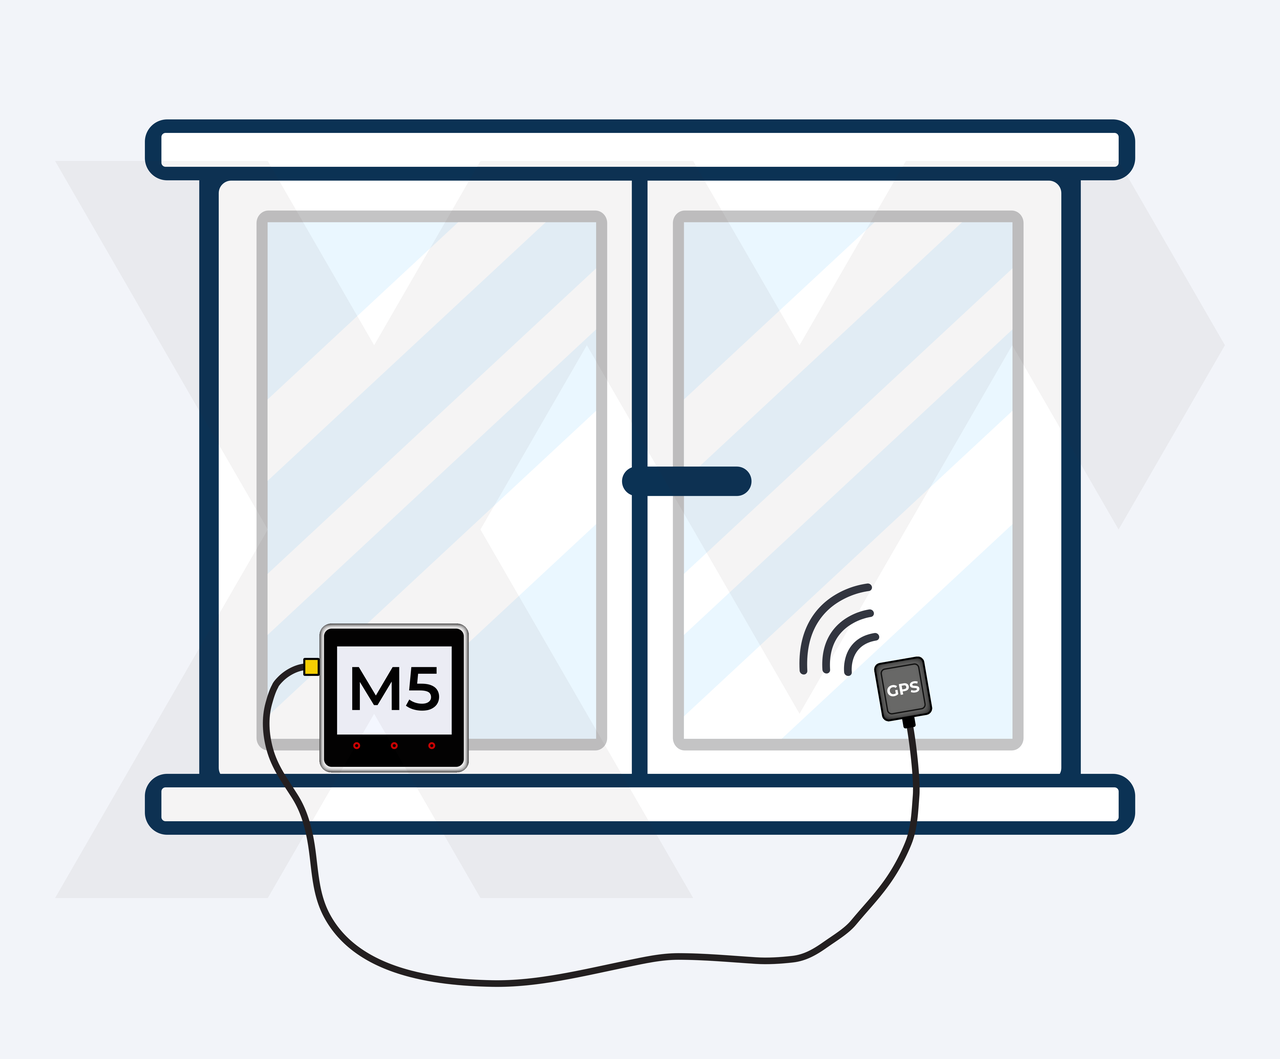
For better GPS signal, it's highly recommended to place the WG1000 Gateway device near a window. Make sure that it has a good GPS coverage at all times.
This step could take some time till the device connects to GPS satellites.
If the GPS signal is lost, you could receive less WXM rewards (or none). This is because we will not be able to verify your location.
Change Frequency (Optional)
- UI versions > 0.10.0
- Older UI versions
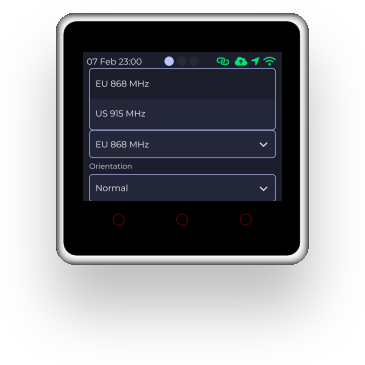
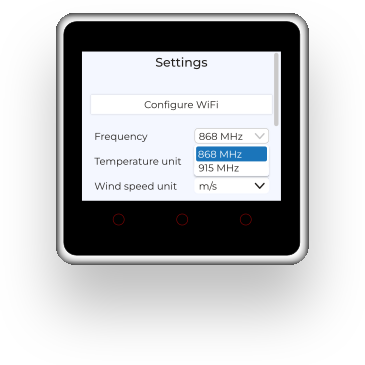
The WG1000 Gateway's frequency must be set to match the frequency of your weather station so it can listen for the weather data it transmits. There are 2 frequencies available:
- Model A: 868 MHz (default)
- Model B: 915 MHz
If your weather station is 868 MHz, you don't need to change anything as it is configured to this value by default. If unsure, check the sticker under the station or the box that came in it.
Steps to change the frequency
- UI versions > 0.10.0
- Older UI versions

- Swipe right on the touch screen
- Click the Frequency options and select the new frequency your WG1000 Gateway will listen to
- A confirmation dialog will open. Read it carefully and click "Continue" or "Cancel" accordingly

- Swipe left on the touch screen
- Click the Frequency options and select the new frequency your WG1000 Gateway will listen to
- A confirmation dialog will open. Read it carefully and click "Yes" or "No" accordingly
If you don't use the correct frequency as your weather station, WG1000 Gateway will not be able to communicate with your weather station, thus you will not send any weather data and receive any $WXM rewards!
Connect WG1000 Gateway to WiFi
- UI versions > 0.10.0
- Older UI versions

By now, your WG1000 Gateway is set and ready for claiming!
- Swipe right to navigate to the settings screen. There, tap on "Configure WiFi" to switch to connect mode.
- An Access Point will be created with SSID "WXMMinerM5", you should connect to it from your smartphone.
- Once connected, a popup will appear on your smartphone to enter your WiFi credentials.
- Enter your WiFi credentials and click "Save"
- WG1000 Gateway will restart and connect to your WiFi network
A popup will open, asking you to select the desired network you'd like to connect the WG1000 Gateway. Select the one you want and provide the password for it.
Once the WiFi credentials have been successfully transferred to WG1000 Gateway, the device will restart and the WiFi icon will turn green!
While you are connected to the "WXMMinerM5" network, you will not have internet access.
Download WeatherXM app and login
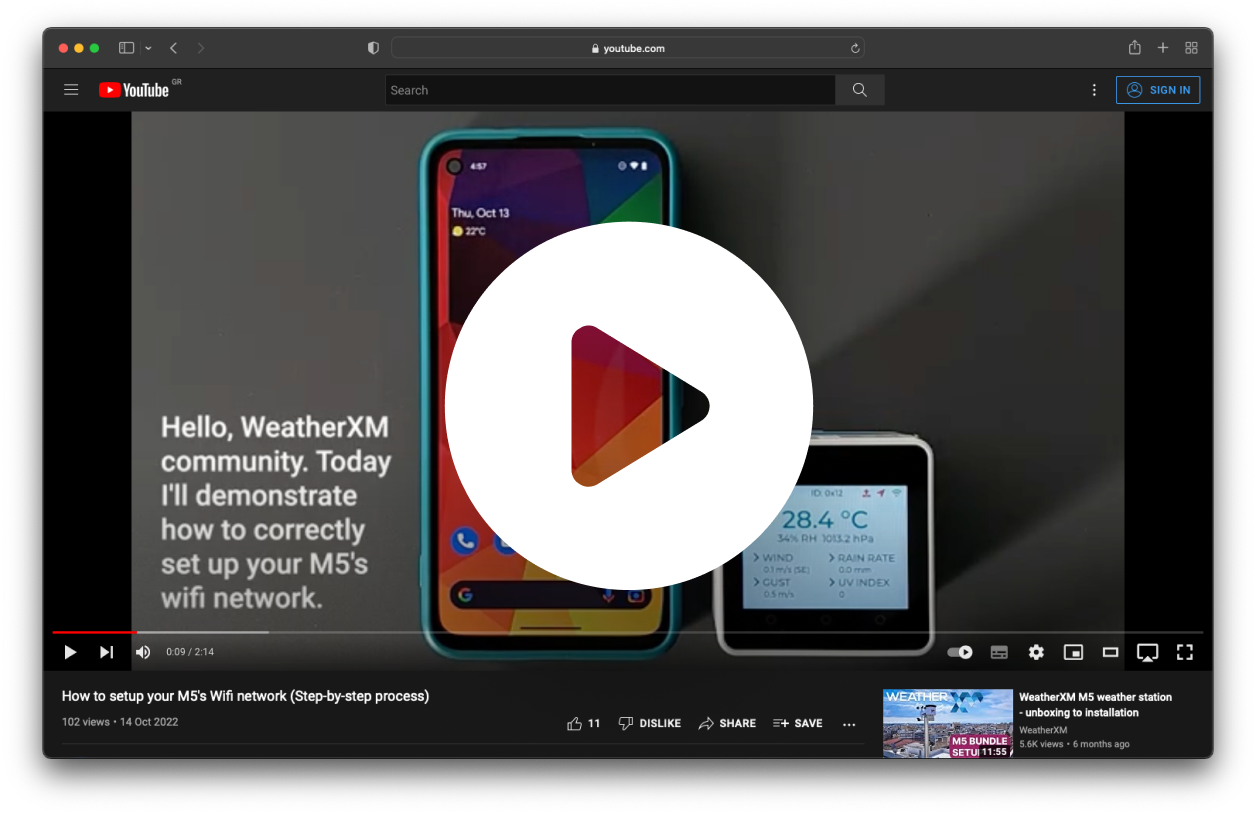
How to properly configure your WG1000 Gateway's WiFi network step by step (Video)
Tap the "+" button

Start the Claiming Process
Once you've logged in to your WeatherXM app, you will see an empty device list (assuming this is your first station setup). At the bottom right corner, you will see a "+" button. Tap it to start the claiming process of your station. Once you've done this, you'll be able to view all data of this station.
Your first rewards will appear after 24 hours of the station being online.
Type the WG1000 Gateway serial number when prompted
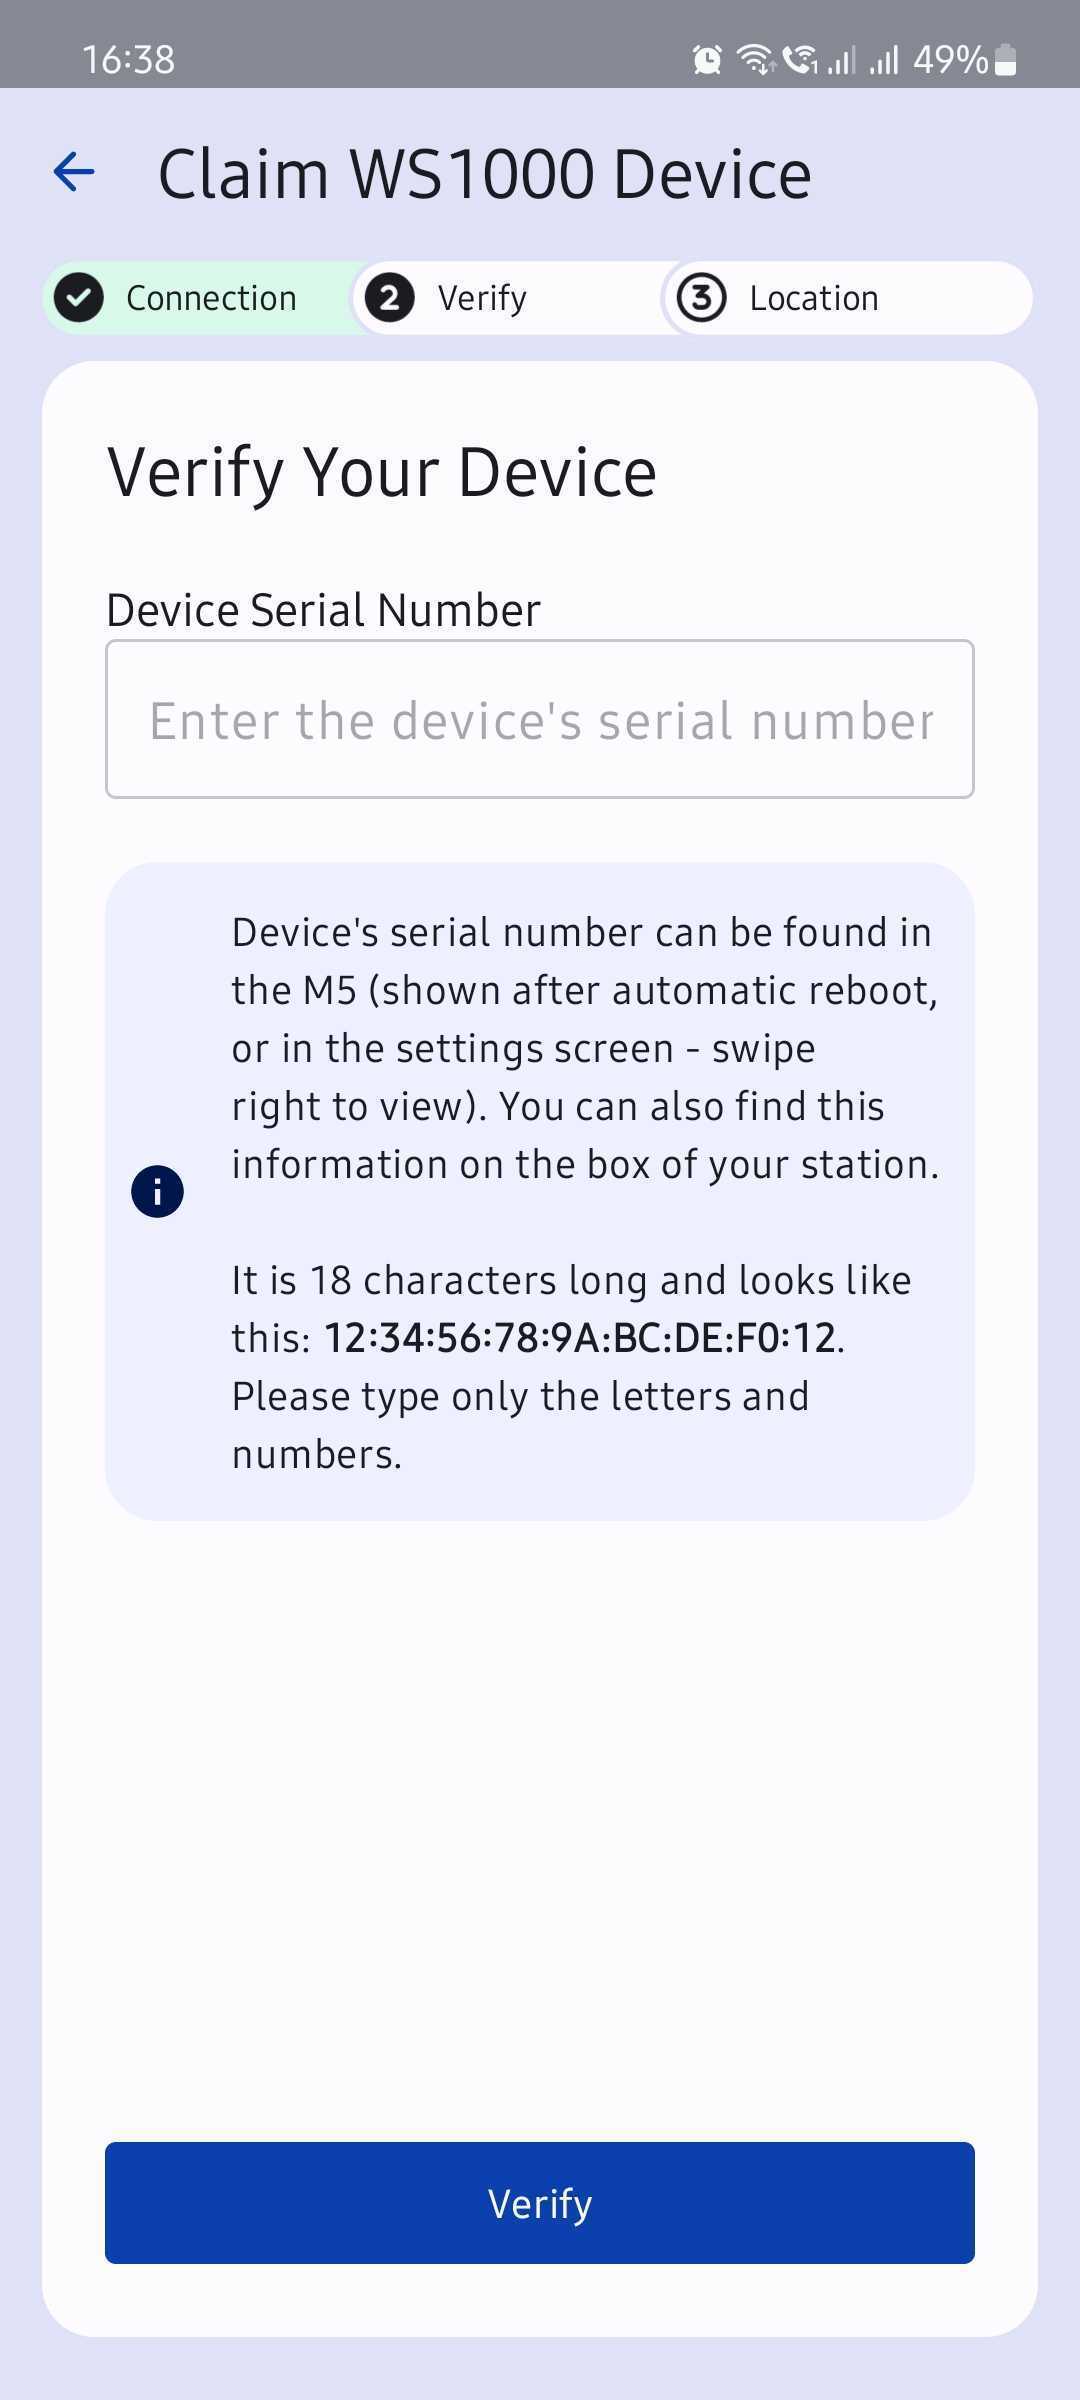
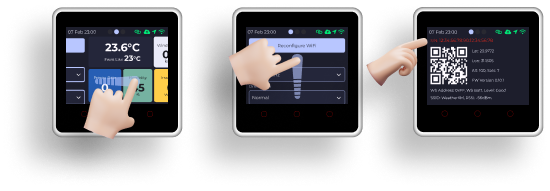
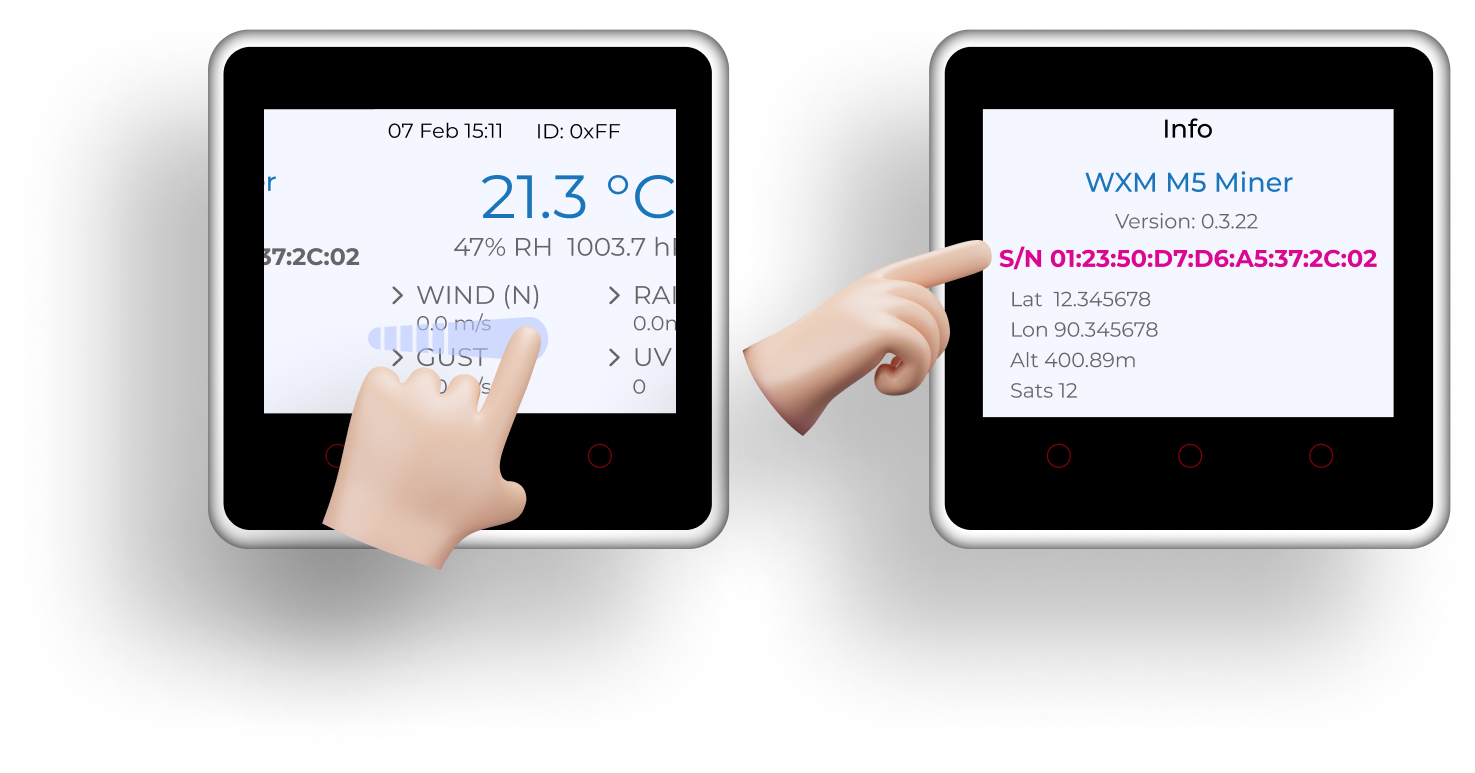
Navigate to WG1000 Gateway and find the device's Serial Number
Follow the steps shown in the image below to find your WG1000 Gateway's Serial Number. You'll need to type this in the WeatherXM app in order to verify that you own this station and secure it for yourself.
- UI versions > 0.10.0
- Older UI versions
Confirm station installation Location & Claim your Device

Select the Location that you'll Install your Station
Allow access to your location so that the WeatherXM app knows where you are planning to install your weather station. Doing so will make it easier to complete this step.
Alternatively, you can find the location manually using the map.
Once you've found the right location, tap on the checkbox to confirm and then tap on "Claim" button.
All you need to do now, is to add your compatible wallet so you can receive WXM rewards. To do so, please follow the instructions in the chapter "Add/edit wallet address".
That's it! You've now claimed your new weather station and you'll be able to see its data on your WeatherXM app!
We do not track you, nor do we collect any data about your location.
Make sure you define the location that you will install your station as precisely as possible, as this is important for the quality of data you will share with the network and thus your overall WXM rewards.
Your first rewards will appear after 24 hours of the station being online.
Usually, it takes up to 30 minutes for the station to appear on the explorer

